
By Riccardo Moriani
Intro:
On writing this article I find myself confined to home in the 2nd week of an international lockdown. COVID-19 a novel virus is killing people as I type. So I find myself looking for ways to effectively train myself, with going to my gym.
My background is in strength and conditioning and to do that I’ve always found the most effective way to improve performance, body composition, mental and generally health is strength training. It has in my own training helped me recover from chronic back pain, reduced my body fat and kept me on top of things when the stress rises.
What makes a good garage/home gym
When it comes to garage/home gyms you can spend thousands and not use half of it, or you can spend a couple of hundred and use it all.
For me, the ultimate goal is function, study after study have shown that all fitness requires strength at some level. As a soldier strength improved my ability to carry my kit, sometimes weighing in excess of 60 Kg, my weapon and myself from a to b. As a rugby player it let me hold up a scrum, what felt like single handed sometimes, or jump high in the air to receive line out ball. Then, as a middle aged man it now lets me hold my own amongst my much younger work associates. When I age it will let me do so disgracefully as a fully capable self-sufficient individual.
To strength train you just need a few things the first is a bar and some weights. As I speak this are not so easy to come by but in normal situations you can pick up a half decent Olympic bar for a reasonable price.
When purchasing disks you only need to buy
what you can currently lift plus an extra 20 kg or so for progression. Purchase
the rest as you go.
What to put in your gym
The choice of equipment will be based on your style of training but for the best return for your buck I’d go with an Olympic bar and weights.
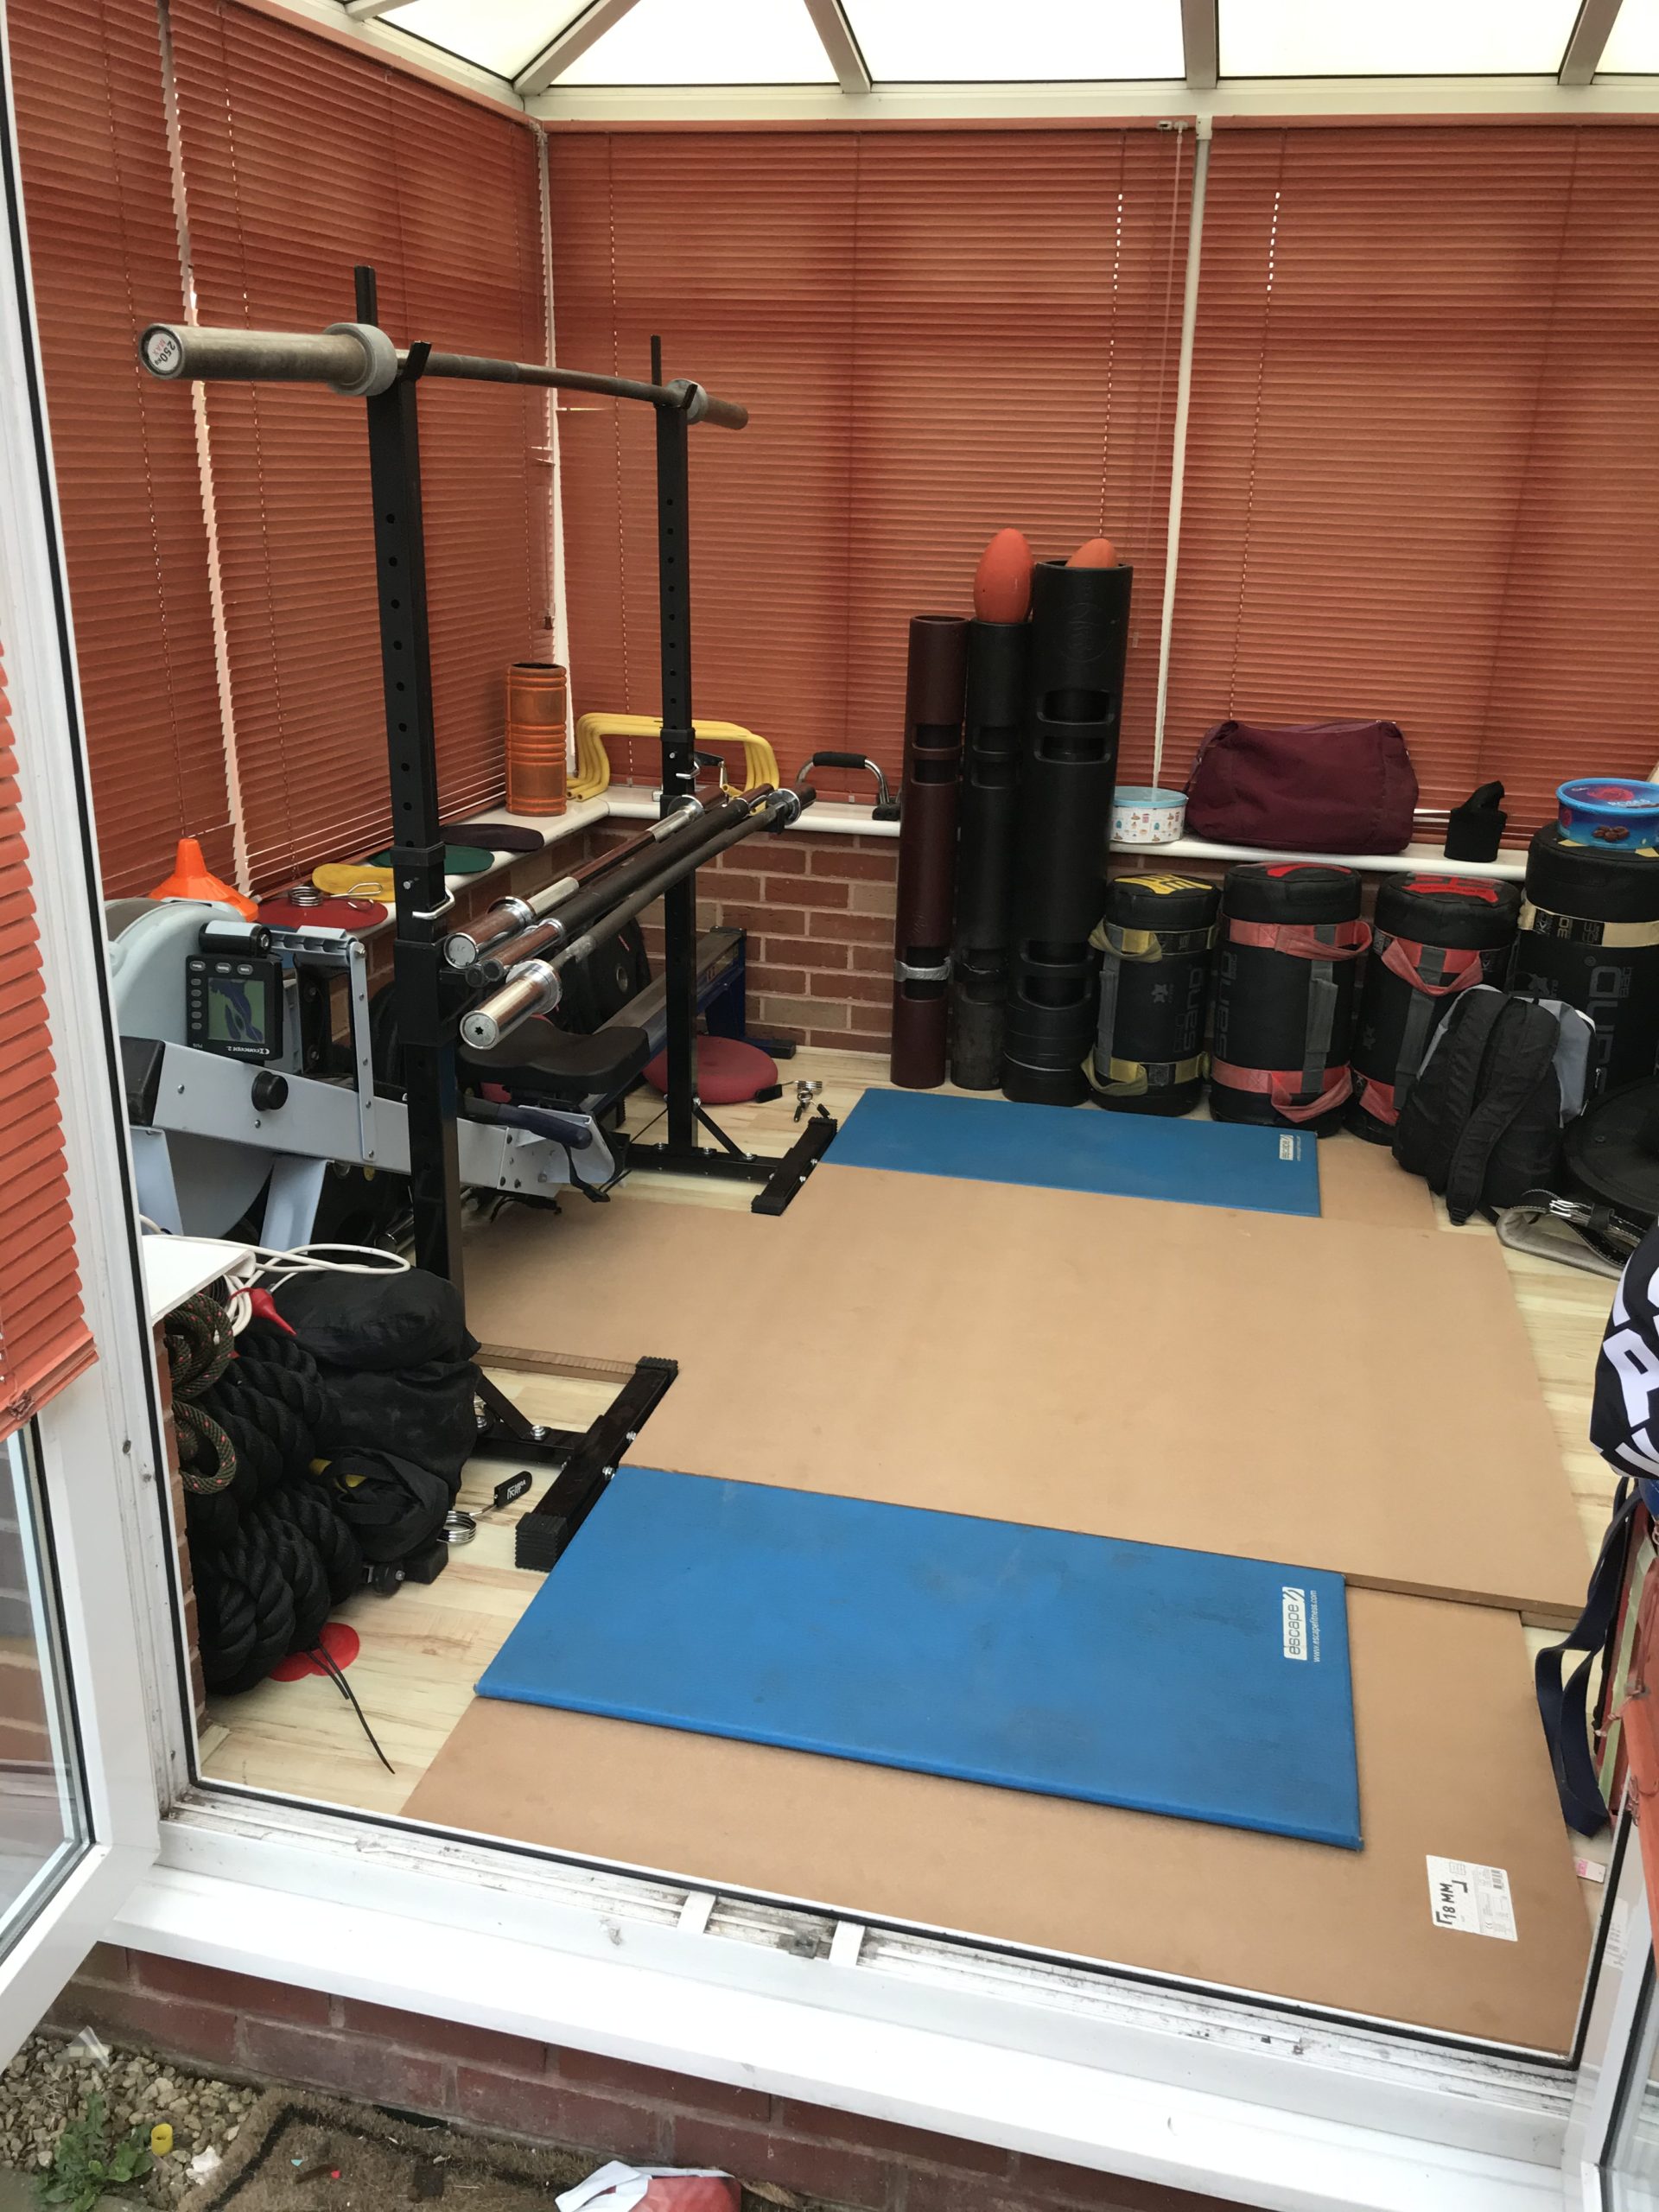
If this is your starting point you will also want a platform, to protect the floor and your equipment, and a squat stand, rack or cage of some description, for squatting.
All of this can be purchased but you can
save a lot of money and to be honest make a better job if you build your own.
Building your own platform
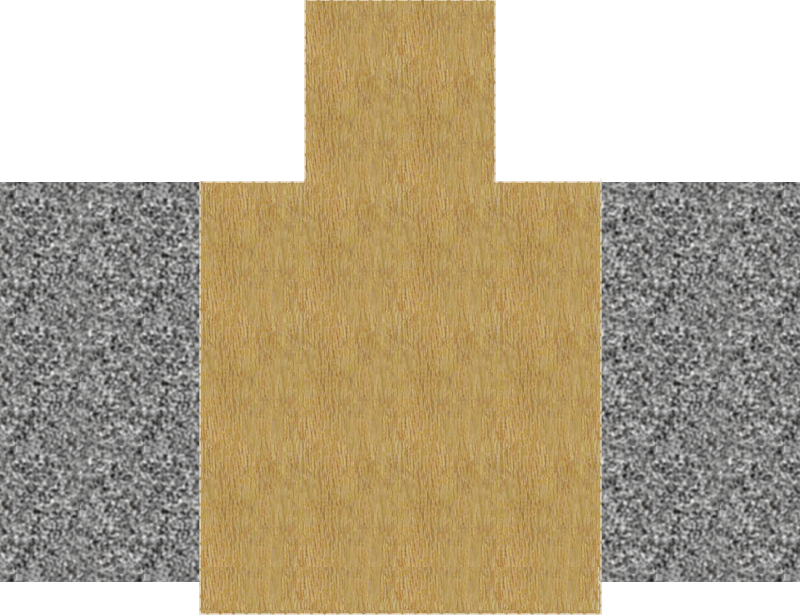
First you will need to decide what size platform you want. The standard size for a power lifting platform is 8’ by 4’ while a Olympic weight lifting platform should be 8’ by 8’. Unless you do plan to be doing snatches and clean and jerks I would recommend using the power lifting option unless space is no issue.
What you need for the power lifting platform, with squat stand insets
1 Piece of 8’ by 4’ MDF minimum of 18mm thick (I recommend MDF for the base as it is relatively cheap and very flat, plywood can be used but if you intend to screw into it a high grade plywood is recommended.)
1 piece of 4’ by 4’ MDF or grade A plywood (Grade A plywood has no gaps of knots). In my version bellow, I have used a second piece of 8’ by 4’ trimmed down at to create an overlap so the platform can be taken apart easily.
- Wood glue screws and/or 8 mm dowel rods.
- Wood saw
- Screw driver
- Drill
- 7 mm drill bit
- Pilot drill bit
- 8 mm Dowel rods
- 24 mm wood screws
- Strong adhesive
Putting your platform together
- Measure and mark out your top board for cutting.
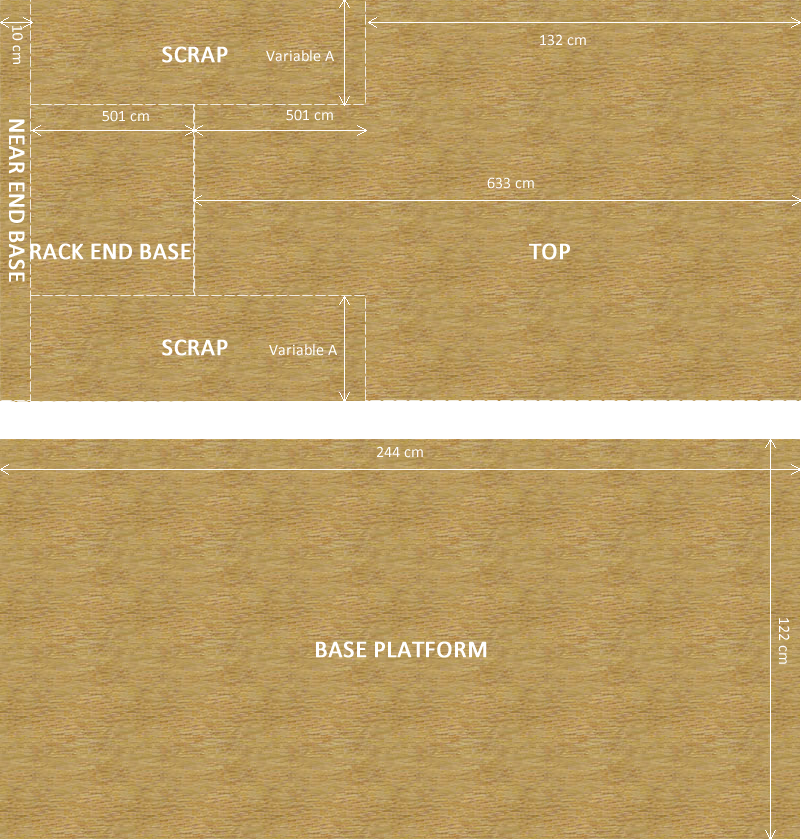
The cut outs in the top platform are to
allow for a squat stand, rack or cage to be positioned. To work out the width
of your narrow end, position your stand in the correct width for the bar and measure
the gap between their feet. You can then calculate ‘variable A’ as 122 cm –
width between feet / 2.
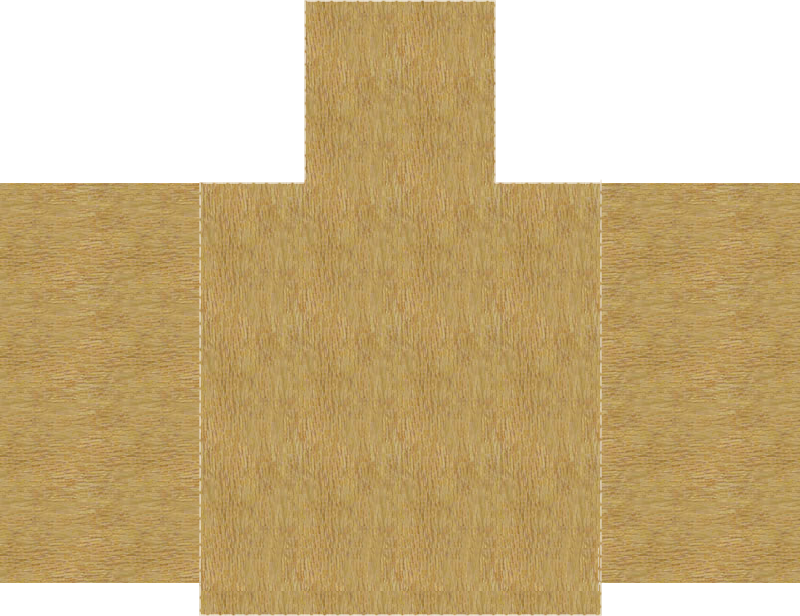
- Assemble the pieces of the top platform.
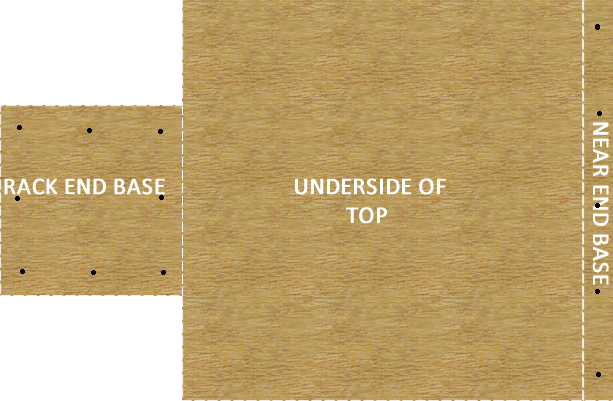
Turn your platform upside down. Place the two base pieces in place drill pilot holes and countersink them. You can now glue and screw the ‘near end base’ to the end of the platform. Dowel rods can be used instead of screws. Holes should be pre drilled before assembly. Five screws or dowels should be sufficient.
Do the same with the ‘back end base’ ensuring you leave enough room for the main base to go snugly between the two. Eight screws or dowels should do this.
- Position your main base board.
To make your platform easy to move you do not need to glue and screw the main base in place as the rubber mats will hold it in place. So, if you don’t intend to move it you can glue and screw it in place.
- Adding the rubber mats
To finish your platform get two 4’ by 2’ (122 cm by 601 cm) rubber horse mats and glue them to the main base either side of the platform.
Once the glue is dry you can varnish the board or leave it unvarnished. You can now place your squat rack in position; your home gym is ready to work out.
My offer to you.
If you’re going to the trouble of building a home gym your serious, and that’s great.
I’m looking for people serious about improving their life by getting stronger. People who what to claim their Independence for life.
You will soon have nearly everything you need, once you have your home gym built out. Just one thing left…
…your training plan! And I would be honoured if you would let me help with that too.
So, too give it a FREE try for one week please click the link below. If after a week it’s not for you just cancel before the first instalment. I won’t think any less of you, I know I’m not for everyone.
If you’ve taken the time to read this far, please take another minute to add a comment. Thank you.